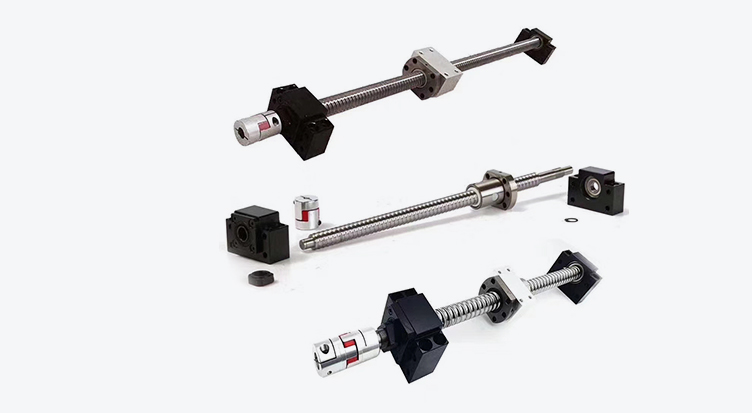
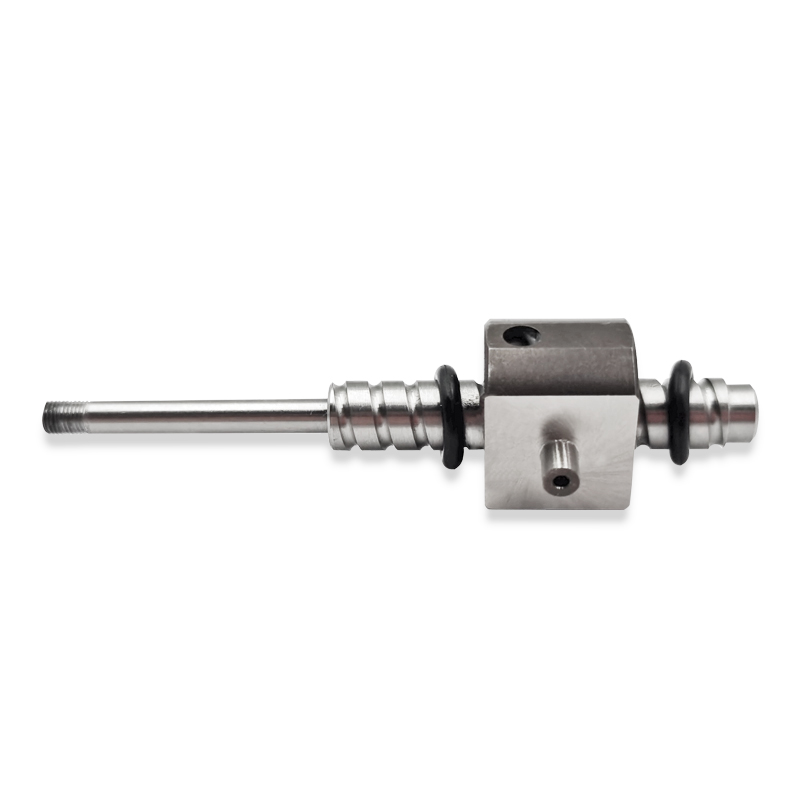
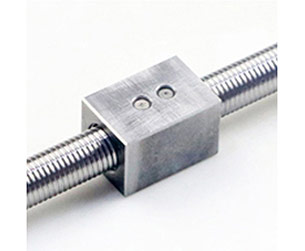
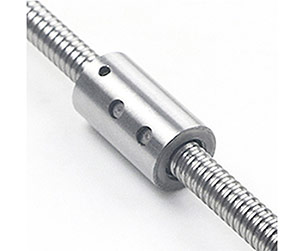
Ball screws, with their micron-level transmission accuracy, low friction coefficient, high repeatability, and stable dynamic response, perfectly meet the stringent requirements of precision instruments and measurement equipment for "micro-displacement control," "zero transmission backlash," and "low vibration and noise." They have become the core component enabling high-precision linear motion in such equipment. The following are specific application scenarios and technical details.
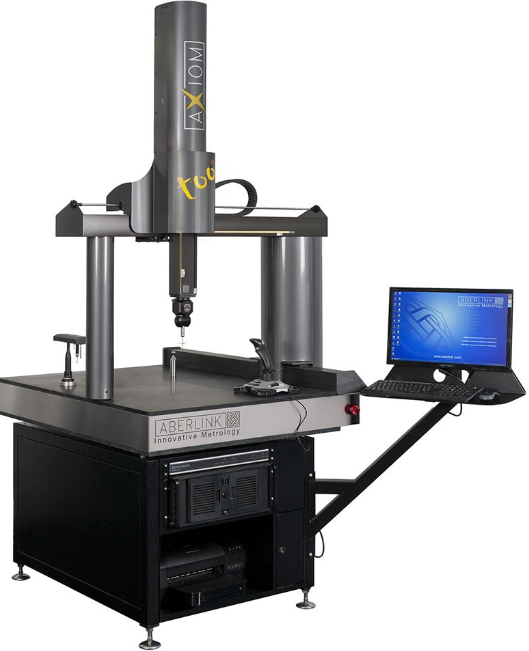
Coordinate Measuring Machines (CMMs) serve as the "gold standard" for inspecting three-dimensional part dimensions (such as hole diameters, profile tolerances, and positional tolerances) in the industrial sector. Measurement errors must be controlled within 0.0005–0.005 mm, and the performance of ball screws directly determines the accuracy of the measurement results.
Application Location:Ball screws are integrated into the X/Y/Z-axis stage transmission system of CMMs, driving measurement probes (such as touch-trigger probes and laser scanners) to perform linear scans or point sampling along the part surface.
Core Functions:
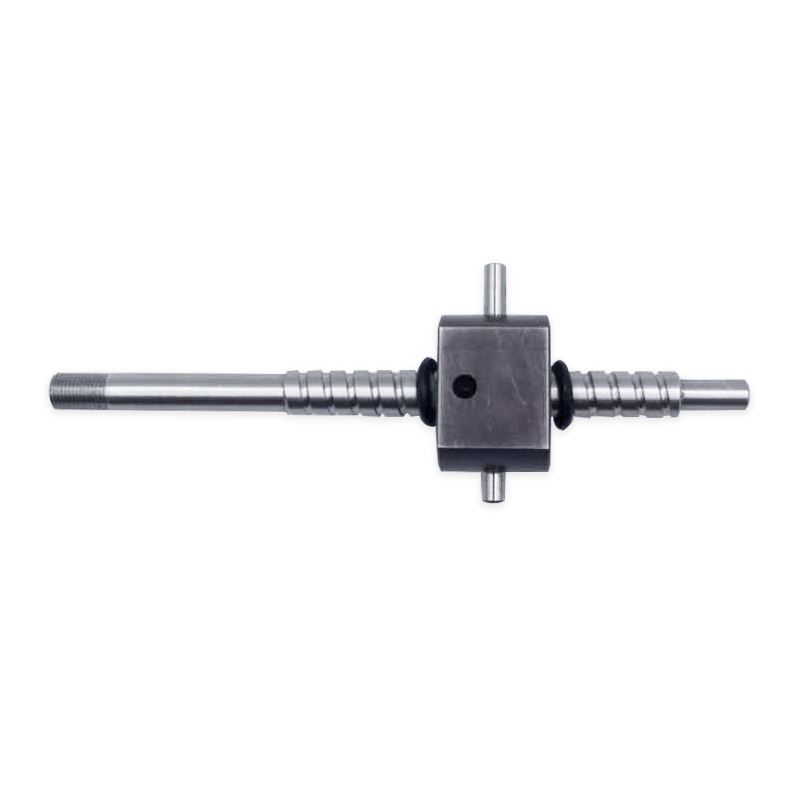
1.Eliminating "Transmission Backlash"By using preloaded ball screws (applying a preload by adjusting the clearance between the nut and the screw), the "lost motion" inherent in traditional threaded transmission is completely eliminated. This ensures that there is no positional deviation when the probe reverses direction, avoiding measurement errors caused by backlash.
2.Stable Micro-FeedingWhen paired with high-precision servo motors (such as torque motors), ball screws can achieve 0.1 μm-level step displacement, meeting the requirements for inspecting fine dimensions of thin-walled parts and micro-components (e.g., mobile phone camera modules).
3.Low-Vibration OperationBall screws have a rolling friction coefficient of only 0.001–0.005 (far lower than the 0.1–0.2 of sliding screws), resulting in minimal vibration during operation. This prevents fluctuations in the contact force between the probe and the part surface caused by vibration, ensuring stable measurement data.
Typical Case:When inspecting the hole diameter tolerance of an automotive engine block (requiring ±0.002 mm), the CMM drives the probe along the hole axis via ball screws to move at a constant linear speed, collecting diameter data in real time. To ensure reliable inspection results, the transmission error must be controlled within 0.0003 mm.

Semiconductor wafers (typically 12 inches/300 mm in diameter and only 0.7–1.2 mm thick) require nanoscale displacement control during processes such as photolithography, dicing, and packaging. These operations must be performed in an ultra-clean environment (Class 1, with ≤1 particle of size ≥0.1 μm per cubic meter of air). Ball screws serve as the "core carrier" enabling this level of precision.
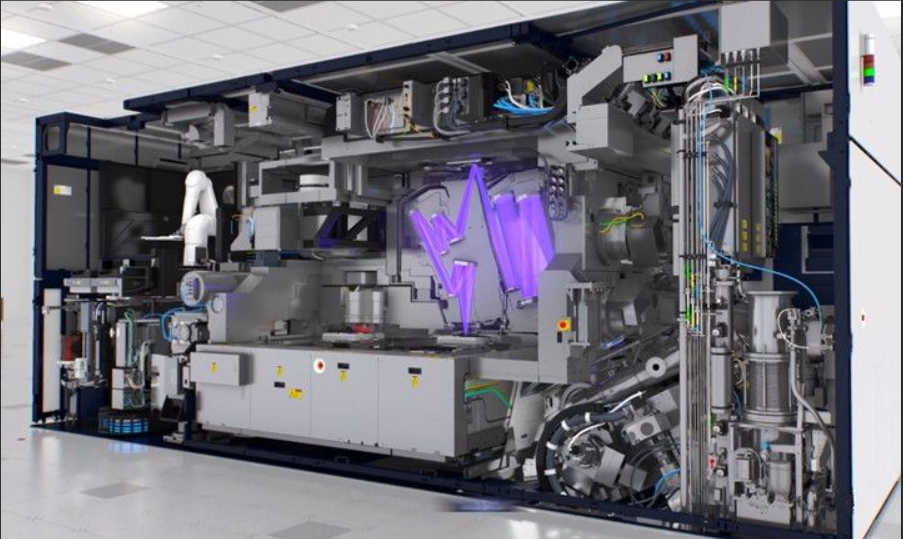
The photolithography machine is the "crown jewel" of semiconductor manufacturing. Its wafer stage must position the wafer and photomask with alignment accuracy within 10 nm. The application of ball screws meets two core requirements:
Application Location:Ball screws are used in the wafer stage's "coarse adjustment transmission system." Some high-end models employ a hybrid "ball screw + piezoelectric ceramic" drive, where the ball screw handles millimeter-level coarse positioning, and the piezoelectric ceramic provides nanoscale fine positioning.
Technical Features:
The transmission system integrates a linear encoder (resolution 0.01 μm) that provides real-time position feedback, forming a "closed-loop control" system with the ball screw to compensate for minor transmission errors, ultimately achieving nanoscale alignment between the wafer and mask.
Wafer dicing divides an entire wafer into dozens or even hundreds of dies. The cutting street width is only 50–100 μm, and the cutting depth error must be ≤5 μm to avoid damaging the internal circuitry:
Application Location:Ball screws drives are used in both the cutting head's feed system (equipped with a diamond blade) and the wafer stage's translation system.
Core Functions:
Cutting head feed: Ball screws drive the cutting head in 5 μm steps perpendicular to the wafer surface, precisely controlling the blade's cutting depth (e.g., for a 0.8 mm thick wafer, the depth must be controlled between 0.8–0.805 mm to avoid cutting through the backside protective film).

Laser equipment (such as laser marking machines and laser interferometers) requires millisecond-level synchronization between "laser emission" and "displacement control". The high response speed and low inertia of ball screws can meet the demand for "dynamic precision" of such equipment:
When marking the surface of electronic components (e.g., chip pins, mobile phone casings), the pattern precision must be controlled within 0.01–0.05 mm, and the edges of the lines must be smooth without jaggedness:
Application Location:Auxiliary displacement stage of the laser galvanometer (or workpiece stage).
Core Functions:
When the marking pattern exceeds the scanning range of the galvanometer (usually ≤ 300 mm × 300 mm), the ball screw drives the stage to move the workpiece linearly. The moving speed is synchronized with the laser emission frequency (e.g., when the moving speed is 50 mm/s, the laser marks 1,000 points per second to ensure the pattern is continuous without gaps).
High-speed ball screws (with a maximum rotational speed of up to 3,000 rpm) are used, paired with low-inertia servo motors. The start/stop response time is ≤ 10 ms, avoiding pattern offset caused by the stage’s start-stop lag.
A laser interferometer is the "precision benchmark" for calibrating CNC machine tools and coordinate measuring machines (CMMs). Its own displacement measurement precision must reach 0.1 μm/m, and the application of ball screws needs to meet the requirement of "error-free transmission":
Application Location:Movable mirror bracket of the interferometer.
Core Function:The ball screw drives the mirror to move uniformly and linearly along the laser optical path. The movement is free of vibration and yaw, ensuring stable laser interference signals. This enables accurate measurement of the displacement error of the calibrated equipment (e.g., when calibrating the positioning error of a CNC machine tool, the interferometer compares the actual displacement of the machine tool with the standard displacement of the ball screw to obtain the error value).
In biomedical testing (e.g., gene sequencing, cell sorting) or medical diagnostics (e.g., hematology analyzers), instruments need to achieve "micro-liquid control" or "cell-level operations" in a sterile environment. The enclosed structure and low-contamination characteristics of ball screws make them suitable for such scenarios:
Gene sequencing requires mixing DNA samples with reagents in specific proportions. The reagent dosage is only 1–10 μL, and the pushing precision must be ≤ 0.1 μL—otherwise, the accuracy of sequencing data will be affected:
Application Location:Drive system for the plunger of reagent syringes.
Core Function:Ball screws drive the syringe plunger to achieve 0.01 mm-level micro-feeding, precisely controlling the volume of reagents pushed. Meanwhile, the sealed design of ball screws (equipped with dust covers and sealing rings) prevents lubricant leakage from contaminating reagents, meeting the sterile requirements of biomedical applications.
In flow cytometers (cell sorters), individual cells need to be separated from cell suspensions, with a sorting precision of 5–10 μm (equivalent to 1–2 times the diameter of a cell):
Application Location:Fine-tuning displacement stage for the sorting nozzle.
Core Function:Ball screws drive the nozzle to perform 3D linear fine-tuning, adjusting the relative position between the nozzle and the cell flow to ensure the sorting laser accurately irradiates target cells. At the same time, they drive the collection tube to move to the designated position for receiving sorted cells. Throughout the process, the displacement error must be ≤ 2 μm to avoid cell loss or sample mixing.


 English
